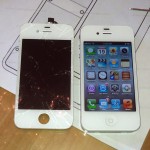
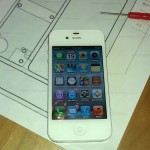
I ordered a new screen iPhone from LaptopScreen.com after my wife’s phone had an unfortunate accident. I placed the order Thursday morning and it arrived Friday afternoon. They ship from Vancouver and Seattle, so it doesn’t take long. There are detailed instructions and video tutorials on their web site, which are invaluable during the repair job. This was actually my second attempt, the first time around I pulled off a connector tab for the digitizer, so had to order a second screen. It was a learning experience.
It’s a fairly delicate procedure requiring the removal of several dozen tiny screws and connectors. To remove the front screen requires gutting logic board, camera, kick motor, and battery to get at the 10 screws that hold the front to the back.
Some tips before you begin:
- Work on a floor with a hard surface. Sweep the floor first. If you drop a screw on the carpet, you will lose it forever.
- When you snake the connectors through the frame, watch that you don’t pinch the ribbon cable between the screen and the frame.
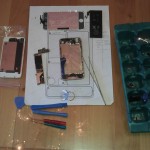
- Use an ice cube tray to keep track of the screws as you go.
- Take your time and be patient!
Here are some photos from the disassembly:
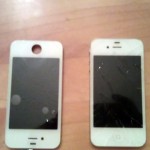
- Before we begin. New screen (left) and broken phone (right)
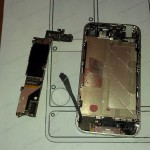
- Logic board (left) and battery removed.
- All parts removed.
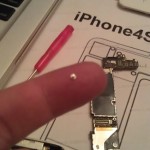
- The screws are super tiny.
- Broken screen beside working phone.
- Success! Its working!
Repairing your iPhone glass is possible for the determined DIY enthusiast, but requires patience and a steady hand.
Good luck with yours!
